If your GM SUV’s 12.6" rear seat entertainment screen has gone black, stopped responding, or started flickering, you’re probably asking the same question every owner asks first: “Can I fix this myself?”
The good news: for many owners, this is a DIY-friendly repair—especially if you’re replacing the full screen assembly (instead of trying to micro-repair a single layer). This guide breaks down what makes this job doable, what makes it tricky, and how to decide if DIY is the right move for you.
Quick answer: yes—DIY is realistic for most owners
In most GM SUVs that use the 12.6" Rear Seat Entertainment (RSE) system, the failure point is typically the screen assembly itself (display, touch layer, or internal connectors). If you’re comfortable removing interior trim carefully and following step-by-step instructions, this repair is very doable at home.
- DIY difficulty: Medium
- Time estimate: 30–90 minutes (first-timers should plan for the longer end)
- Tools needed: Basic hand tools + trim tools
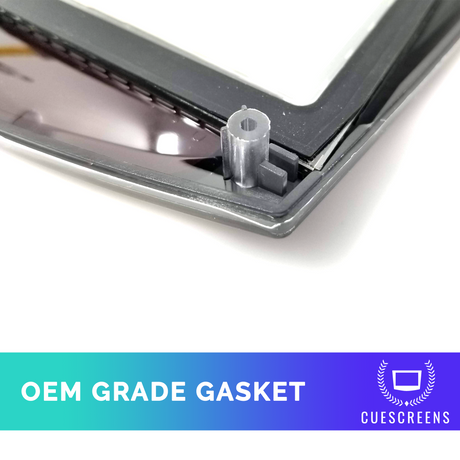
- Most important skill: Patience (so you don’t crack trim clips or scratch panels)
What failures are most common on GM 12.6" rear screens?
Rear seat entertainment issues can look like a “software problem,” but a lot of the time the problem is hardware. Owners commonly report:
- Black screen (no image)
- Touch not responding
- Flickering or dim display
- Vertical lines / partial image
- Random resets or freezing
If your front infotainment works normally but the rear screen is dead or unstable, the rear screen assembly or its connections are often the culprit.
DIY-friendly checklist: are you a good candidate?
You’re a strong DIY candidate if:
- You can follow a video or written guide step-by-step
- You have a clean workspace and good lighting
- You’re willing to take photos as you disassemble (so reassembly is painless)
- You can use trim tools gently (no prying with a screwdriver)
You might want professional help if:
- Your headrest assembly is damaged or loose (not just the screen)
- You see wiring damage, pinched harnesses, or signs of moisture
- You’re not comfortable removing interior trim without breaking clips
What makes this repair “medium” difficulty?
The screen replacement itself isn’t complicated—what raises the difficulty is the access. Rear seat screens are usually integrated into the headrest or rear passenger area housing, meaning you’ll deal with:
- Trim clips that need slow, even pressure
- Hidden screws
- Connector locks that must be released correctly
- Careful cable routing so nothing gets pinched during reassembly
None of that requires advanced mechanical knowledge—but it does reward careful work.
DIY tips to avoid mistakes (read this before you start)
- Disconnect power first: Turn the vehicle off completely. If your guide recommends it, disconnect the battery before unplugging display connectors.
- Use trim tools: Plastic trim tools prevent scratches and reduce the chance of cracking trim.
- Don’t force connectors: Many GM connectors have locks—if it doesn’t slide out, you haven’t released the lock.
- Organize hardware: Use a small tray and label screws by step.
- Test before final reassembly: If possible, confirm the screen powers on before snapping every clip back in place.
DIY vs. dealer replacement: what’s the real difference?
The dealer route typically involves higher labor cost and longer wait times, especially if they quote a full module replacement. A DIY replacement with a purpose-built replacement screen can often:
- Save significant labor cost
- Get your rear entertainment working again without scheduling delays
- Let you control the quality of the replacement part
If you’re already the kind of owner who swaps cabin filters or does small repairs, this project is well within reach.
Internal resources to help you decide
If you’re researching screen failure patterns, DIY difficulty, or what typically causes display issues, these CueScreens guides can help:
(If your rear screen is tied to a specific GM model year or package, confirm compatibility first—GM often changes connectors and mounts between trims.)
Tl;DR DIY is a solid option—if you take it slow
For most owners, repairing the 12.6" GM Rear Seat Entertainment screen is a realistic DIY project. The job isn’t “hard,” but it does require careful trim removal, correct connector handling, and patience.
If you want the simplest path, focus on a full replacement approach (not partial repairs), double-check compatibility, and follow a step-by-step guide. You’ll get your rear entertainment back without paying dealer labor.
![[Premium] Upgraded Gel-Free Cadillac CUE Replacement Touch Screen Display-Cuescreens](http://www.cuescreens.com/cdn/shop/files/7c1892_b5fcaf040dfe42abb289e47b1fa91ab9_mv2.png?v=1738265347&width=460)


![[Premium] Upgraded Gel-Free Cadillac CUE Replacement Touch Screen Display-Cuescreens. Supports Proximity Sensors.](http://www.cuescreens.com/cdn/shop/files/7c1892_7faa9297eab444d5a99838357b9c178c_mv2.png?v=1764720901&width=460)