To confirm your car's exact touchscreen version, check four sources in order: the system information menu on the screen, the radio sales code on your window sticker or build sheet, a dealer VIN lookup, and finally the part number label on the screen hardware itself, which is the most authoritative answer. Your model year alone is not enough, because manufacturers shipped multiple screen versions in the same year and many vehicles have had radios replaced since new.
Ordering the wrong screen is the most common and most avoidable mistake in DIY infotainment repair. This guide gives you the full verification workflow so the replacement fits the first time.
Why Model Year Alone Gets People the Wrong Screen
The single biggest fitment trap is assuming that year plus model equals one screen. It does not, for three reasons:
- Multiple variants shipped in the same year. A 2018 Jeep could have a 7 inch Uconnect 4 or an 8.4 inch Uconnect 4 or 4C, with or without built-in navigation, and each configuration uses different hardware. On RAM trucks, the 8.4 inch radio itself changed suppliers and platforms at the 2018 model year.
- Transition years overlap. Cadillac CUE hardware changed between the 2013 to 2017 and 2018 to 2020 generations, which is why many replacement screens only fit one range and fail on the other.
- The radio in the dash may not be the factory radio. Refurbished CUE units, upgraded Uconnect radios, and Harley-Davidson motorcycles retrofitted from the older 6.5GT to the Boom! Box GTS are all common. In those cases the window sticker describes a radio that is no longer in the vehicle.
The rule that resolves all three: the vehicle tells you the candidates, the hardware tells you the answer.
Step 1: Identify the System and Screen Size
Start with the basics. Which infotainment platform does your vehicle use, and how big is the screen? Measure diagonally, corner to corner of the visible display. The difference between a 7 inch and an 8.4 inch Uconnect, or a 4.3 inch and a 6.5 inch Boom! Box, is the difference between the right part and a return label.
Also note obvious identity features: does the system have built-in navigation, or does it only navigate through Apple CarPlay or Android Auto? On Uconnect vehicles, built-in navigation usually indicates Uconnect 4C while CarPlay-only navigation usually indicates Uconnect 4. Our guide to Uconnect 4 vs 4C covers this distinction in detail.
Step 2: Check the System Information Menu
The screen itself can often tell you what it is. Before reaching for any trim tool:
- Uconnect (Chrysler, Dodge, Jeep, RAM): Settings, then System Information, or Settings, then About
- Subaru STARLINK: Settings, General, System Information
Not every system displays hardware identifiers here. Many show only software version information. But on the platforms where a hardware identifier is present, this is the fastest confirmation available, and it costs nothing to check.
Step 3: Find the Sales Code or Build Code
Manufacturers identify radio hardware variants with sales codes, and these are the key to distinguishing lookalike systems.
On Chrysler, Dodge, Jeep, and RAM vehicles, Uconnect variants carry codes like UAG, UAM, UAQ, UAS, and UAV. You can find the code in three places:
- The original window sticker or build sheet, if you have it in your paperwork
- A dealer VIN lookup, which pulls the radio build code from the vehicle build data
- The sticker on the radio unit itself, which is the most reliable source
The code matters because visually identical screens use different assemblies. The 8.4 inch UAQ and UAS systems use a different panel than the 8.4 inch UAV, and the 7 inch UAG and UAM systems are different again. Cuescreens Uconnect listings are organized by these codes for exactly this reason: browse the Uconnect replacement collection and match your code to the listing.
Step 4: Verify the Part Number on the Hardware
The label on the screen assembly or radio is the final authority. Everything else narrows the candidates. The label confirms the match.
A few platform-specific notes on reading it correctly:
- Focus on the base number. On Harley-Davidson Boom! Box GTS radios, part numbers like 76000783 may carry suffix letters such as P76000783B, but the main eight digit base number is the most important identifier. The same logic applies broadly: suffix letters often indicate revisions, while the base number identifies the hardware family.
- Know which number you are reading. Screen labels often carry several numbers: an LCD panel number like DJ080PA-01A or LA084X01 that identifies the display panel itself, and an assembly part number that identifies the complete unit. For matching a replacement screen, the panel number is usually the most directly useful.
- You may not need full removal. On some vehicles the label is visible along the bezel edge with a flashlight and a phone camera. If not, a dealer parts counter can return the display assembly part number from your VIN.
For the complete walkthrough of locating and decoding these labels, see our guide on how to find your car screen's OEM part number.
Step 5: When in Doubt, Send a Photo
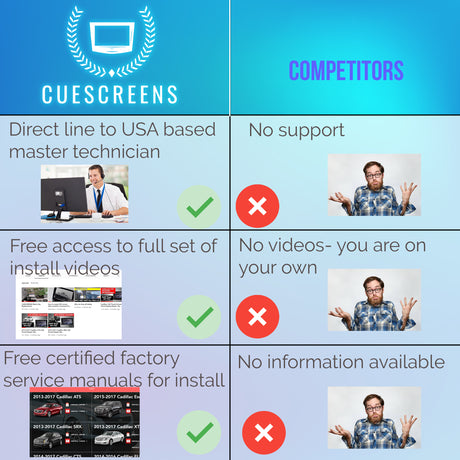
If any uncertainty remains after the first four steps, do not guess. Take a clear photo of your current screen, and of the part number label if you can reach it, and send it to the vendor before ordering. Cuescreens support can confirm compatibility from a photo of your screen at support@cuescreens.com. Thirty seconds of confirmation beats a week of shipping a return.
Special Cases That Trip People Up
Retrofitted and Upgraded Vehicles
If a previous owner upgraded the radio, the VIN and window sticker describe hardware that is no longer installed. Harley-Davidson motorcycles retrofitted from the older 6.5GT button-and-bezel radio to the Boom! Box GTS are the classic example: the replacement screen must match the radio actually installed, verified by hardware number and physical screen style. Our 6.5GT vs Boom! Box GTS guide covers how to tell them apart.
Previously Replaced or Refurbished Units
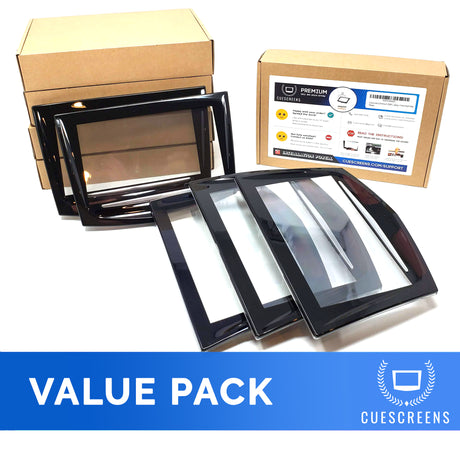
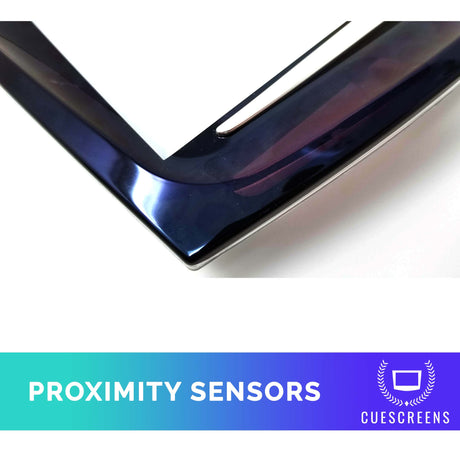
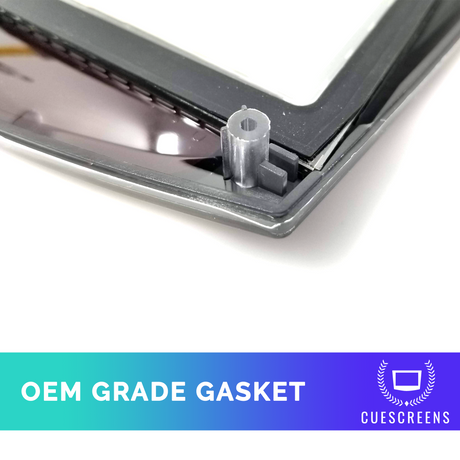
Cadillac CUE systems are frequently refurbished or replaced, which is why cheap replacement screens that only fit one CUE generation often fail on updated units. This is the problem dual-mode hardware solves: the Cuescreens Premium gel-free CUE replacement works with all Cadillac CUE systems from 2013 to 2020, original or previously replaced, with part numbers starting with 2 or 8. When a dual-mode option exists for your platform, it removes the generation guesswork entirely.
Cross-Badge Lookalikes
Radios that look identical across brands are not always interchangeable. Near-identical 8.4 inch Uconnect units were built for different vehicles under different codes with different mounting and connector details. Match the code and part number, not the appearance.
The Pre-Order Checklist
- System platform identified and screen measured diagonally
- System information menu checked for hardware identifiers
- Sales or build code confirmed from window sticker, build sheet, or dealer VIN lookup
- Base part number read from the hardware label and matched to the listing
- Photo sent to support for confirmation if anything is uncertain
Every Cuescreens product page lists the compatible systems and part numbers for that screen. Fitment confirmation is a required step, not an afterthought, and it is the difference between a repair that works the first time and a return.
Frequently Asked Questions
How do I find out which touchscreen version my car has?
Check four sources in order of convenience: the system information menu on the screen, the original window sticker or build sheet for the radio sales code, a dealer VIN lookup of the build data, and the part number label on the hardware itself, which is the most authoritative source.
Why is my model year not enough to order the right screen?
Manufacturers ship multiple screen sizes and hardware variants in the same model year, and many vehicles have had radios replaced or upgraded since new. The vehicle narrows the candidates. The hardware confirms the answer.
Where is the sales code or build code for my radio?
On Chrysler, Dodge, Jeep, and RAM vehicles, codes like UAG, UAM, UAQ, UAS, and UAV appear on the original window sticker or build sheet and on a sticker on the radio unit itself. A dealer can also pull the code from the vehicle build data using your VIN.
What if my radio was replaced or upgraded by a previous owner?
Then the window sticker and VIN describe the factory radio, not the installed one. Verify against the actual hardware: part number label, connector layout, and physical screen style. This is common on retrofitted Harley-Davidson GTS radios and refurbished Cadillac CUE units.
What should I do if I am still not sure which screen to order?
Send a photo of your current screen and its label to support@cuescreens.com before ordering. Cuescreens support can confirm compatibility from a photo, which removes the guesswork entirely.
The Bottom Line
Confirming your exact touchscreen version takes five steps and usually less than fifteen minutes: identify the system and size, check the on-screen information menu, find the sales code, verify the part number on the hardware, and send a photo if anything is still unclear. Do that before ordering and the screen that arrives is the screen that fits. Find the verified options for your vehicle at Cuescreens.com, or reach out to support@cuescreens.com with a photo of your screen for a compatibility check.
About the Author: Daniel Gigante has over 18 years of experience in the automotive industry, with a focus on vehicle technology, infotainment systems, and real-world reliability. He writes about automotive design, touchscreen usability, and how modern technology impacts everyday driving.
![[Premium] Upgraded Gel-Free Cadillac CUE Replacement Touch Screen Display-Cuescreens](http://www.cuescreens.com/cdn/shop/files/7c1892_b5fcaf040dfe42abb289e47b1fa91ab9_mv2.png?v=1738265347&width=460)


![[Premium] Upgraded Gel-Free Cadillac CUE Replacement Touch Screen Display-Cuescreens. Supports Proximity Sensors.](http://www.cuescreens.com/cdn/shop/files/7c1892_7faa9297eab444d5a99838357b9c178c_mv2.png?v=1764720901&width=460)