Quick answer: most first-time DIYers replace a car touchscreen in about 1 to 2 hours. The replacement screen itself is a direct-fit part, so there is no programming or coding involved. The time goes into removing dash trim, pulling the display or infotainment module, swapping the screen assembly, and putting everything back together. If you have done interior trim work before, you will likely land on the faster end. If this is your first time inside a dashboard, budget the full two hours and do not rush.
Below is a realistic breakdown of where the time actually goes, how the timeline changes by vehicle, and what tends to slow people down.
Why the Screen Swap Is Not the Slow Part
A common misconception is that the screen is the hard part. It is not. A quality replacement assembly connects the same way the factory screen did. The real work is access: modern infotainment displays sit behind trim panels, brackets, and wiring harnesses that were never designed for quick service.
Here is roughly how the time splits on a typical job:
- Trim and panel removal: often the longest stage, especially the first time, since clip locations are not obvious until you have seen them
- Removing the display or module: unbolting the unit and disconnecting harnesses and ribbon cables, which requires patience more than strength
- The actual screen swap: usually the shortest stage when you follow a step-by-step video
- Reinstall and testing: reconnecting everything, confirming touch response, then snapping trim back in
Time Estimates by Vehicle Platform
Every vehicle is different, and your experience level matters more than any single number. These are honest working ranges for a careful first-timer following an installation video. Experienced hands finish faster.
Cadillac CUE (ATS, CTS, SRX, XTS, Escalade and Others)
Plan for 1 to 2 hours. CUE replacement is a multi-step, module-out repair: you remove trim, pull the CUE unit from the dash, open it on a bench, swap the screen assembly, and reinstall. It is very doable for a DIYer, but it is not a five-minute job and anyone telling you otherwise is selling something. Follow the model-specific video the whole way through. If your CUE screen is ghost touching or cracked, the screen assembly is almost always the fix, not the whole unit. See our guide on whether to replace a Cadillac CUE screen yourself or use an installer for a deeper look at the decision.
Chevy and GMC MyLink / IntelliLink
Plan for roughly 1 to 2 hours depending on the model and screen size. Like CUE, these are module-out jobs where dash access takes most of the time.
Uconnect (Chrysler, Dodge, Jeep, Ram)
Plan for roughly 1 to 2 hours. Uconnect 8.4 inch systems require bezel and radio removal before the screen assembly can be swapped. Connector care matters here, so slow down around the ribbon cables.
Other Platforms (Subaru STARLINK, VW MIB2, Mazda, Ford SYNC 3, Honda and More)
Most fall in the same 1 to 2 hour window for a first-timer. Some are quicker once the unit is out, others have more trim to fight through. Check the installation video for your exact vehicle before you start so there are no surprises mid-job.
What Speeds the Job Up
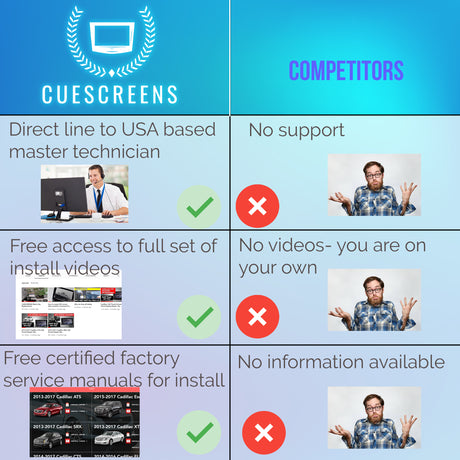
- Watching the full installation video first. Ten minutes of watching saves thirty minutes of guessing. Cuescreens publishes step-by-step videos at cuescreens.com/pages/videos.
- Plastic trim tools. A cheap trim tool kit prevents broken clips and scratched panels, both of which cost you time and money.
- A clean bench for the swap. Doing the screen transfer on a table instead of hunched in the cabin makes the delicate part of the job easier.
- A direct-fit, gel-free screen. A true plug-and-play assembly means no programming, no VIN coding, and no adhesive work. The part connects the way the factory screen did. Gel-free construction also means you are not repeating this job when heat causes the adhesive layer in a cheap screen to bubble.
What Slows the Job Down
- Hidden fasteners. Nearly every dash has at least one screw hiding behind a panel or vent. The video shows you where.
- Forcing trim. Cold plastic and stubborn clips break when rushed. Warm cabin, steady pressure, patience.
- Ribbon cable connectors. These are the most delicate part of the job. Take your time seating them fully.
- Skipping the test before reassembly. Always confirm the display and touch response work before you snap every trim piece back in place. Retracing your steps doubles the job.
DIY or Installer: A Simple Rule of Thumb
If you are comfortable removing interior trim and following a video, the job is well within reach and you keep the entire labor savings. If you would rather not open your dash, that is fine too. Cuescreens maintains a network of local installers who can handle the labor. Find one near you at cuescreens.com/pages/store-locator.
Either way, the math usually favors replacing the screen assembly over replacing the entire infotainment unit. Dealerships typically quote full module replacement, which can run into the thousands, when the failed component is usually just the touch layer on the screen itself.
Frequently Asked Questions
How long does it take to replace a car touchscreen yourself?
Most first-timers finish in about 1 to 2 hours. The screen swap itself is quick; dash access and reassembly take most of the time.
Is replacing a Cadillac CUE screen a quick job?
No. It is a multi-step, module-out repair that involves removing trim, pulling the CUE unit, opening it, and swapping the screen assembly. It is DIY-friendly with the right video, but plan for 1 to 2 hours your first time.
Do I need to program the new screen?
No. A direct-fit replacement screen requires no VIN programming, coding, or dealer software. It connects the same way the factory screen did.
What tools do I need?
Plastic trim removal tools, a basic socket set or screwdrivers, and a clean workspace cover most vehicles. Check your model-specific installation guide before starting.
What if I do not want to install it myself?
Use the Cuescreens installer locator to find a local shop that can handle the installation for you.
Find the Right Screen for Your Vehicle
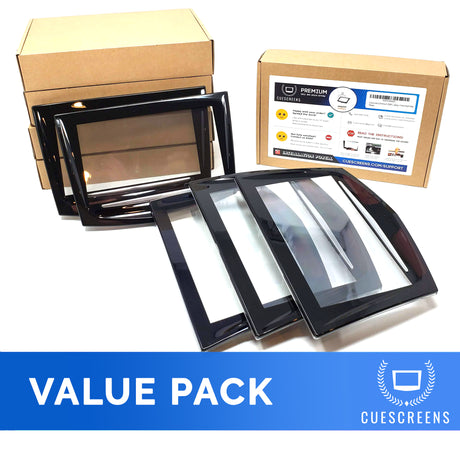
Cuescreens builds gel-free, direct-fit replacement touchscreen assemblies for Cadillac, Chevy, GMC, Chrysler, Dodge, Jeep, Ram, Subaru, VW, Mazda, Ford, Honda, and more. Every screen ships tested and ready to install, with step-by-step videos to walk you through the job. Browse all screens at cuescreens.com/collections/all or start with the Cadillac collection if you drive a CUE-equipped model.
![[Premium] Upgraded Gel-Free Cadillac CUE Replacement Touch Screen Display-Cuescreens](http://www.cuescreens.com/cdn/shop/files/7c1892_b5fcaf040dfe42abb289e47b1fa91ab9_mv2.png?v=1738265347&width=460)


![[Premium] Upgraded Gel-Free Cadillac CUE Replacement Touch Screen Display-Cuescreens. Supports Proximity Sensors.](http://www.cuescreens.com/cdn/shop/files/7c1892_7faa9297eab444d5a99838357b9c178c_mv2.png?v=1764720901&width=460)